Assistance et documentation
Cette page n'est actuellement disponible qu'en anglais.
Remote Printing with a Chromebook
This is a detailed instruction guide on how to set up PrintNode on your Chromebook running Chrome OS. The PrintNode Client for Chrome OS runs under the Linux subsystem of Chrome OS. Some Chromebooks don't support Linux; search online and/or contact your system administrator to check if your Chromebook supports Linux.
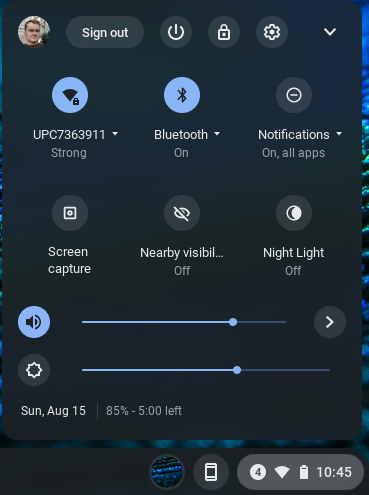
Before running the PrintNode Client, you need to set up Linux on your Chromebook. To do that, click on the bottom-right corner of the screen and then on the cog icon to display the "Settings" pane.
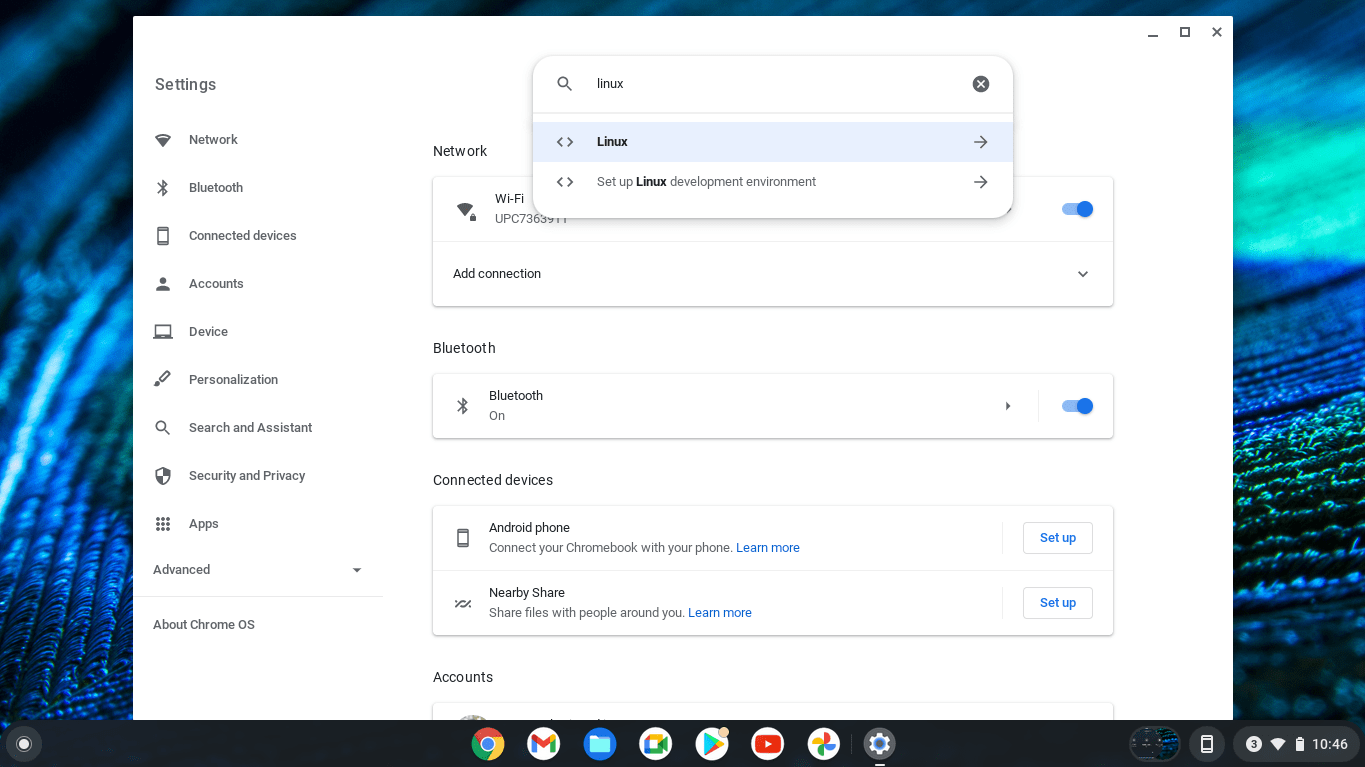
Use the search bar to search for "linux" and hit enter.
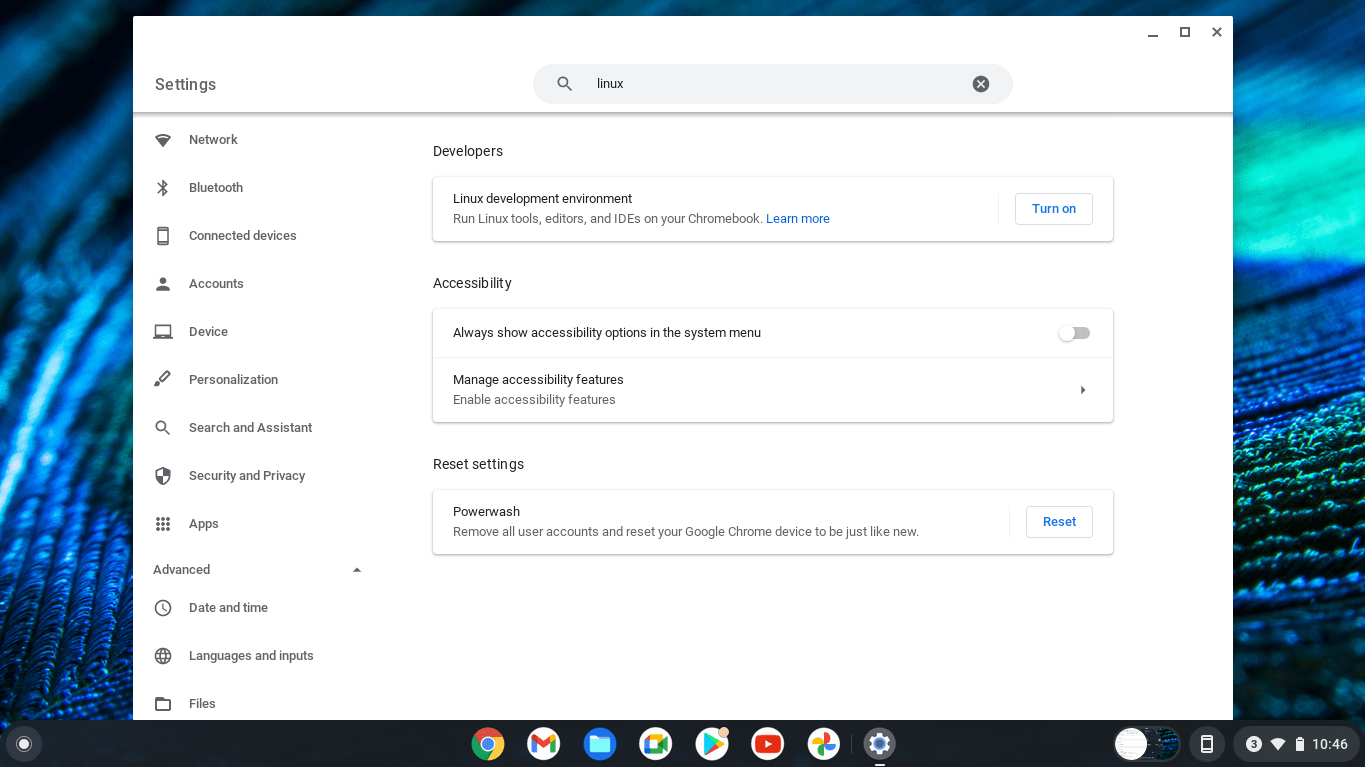
The "Linux development environment" should appear in the "Developers" section; click "Turn on".
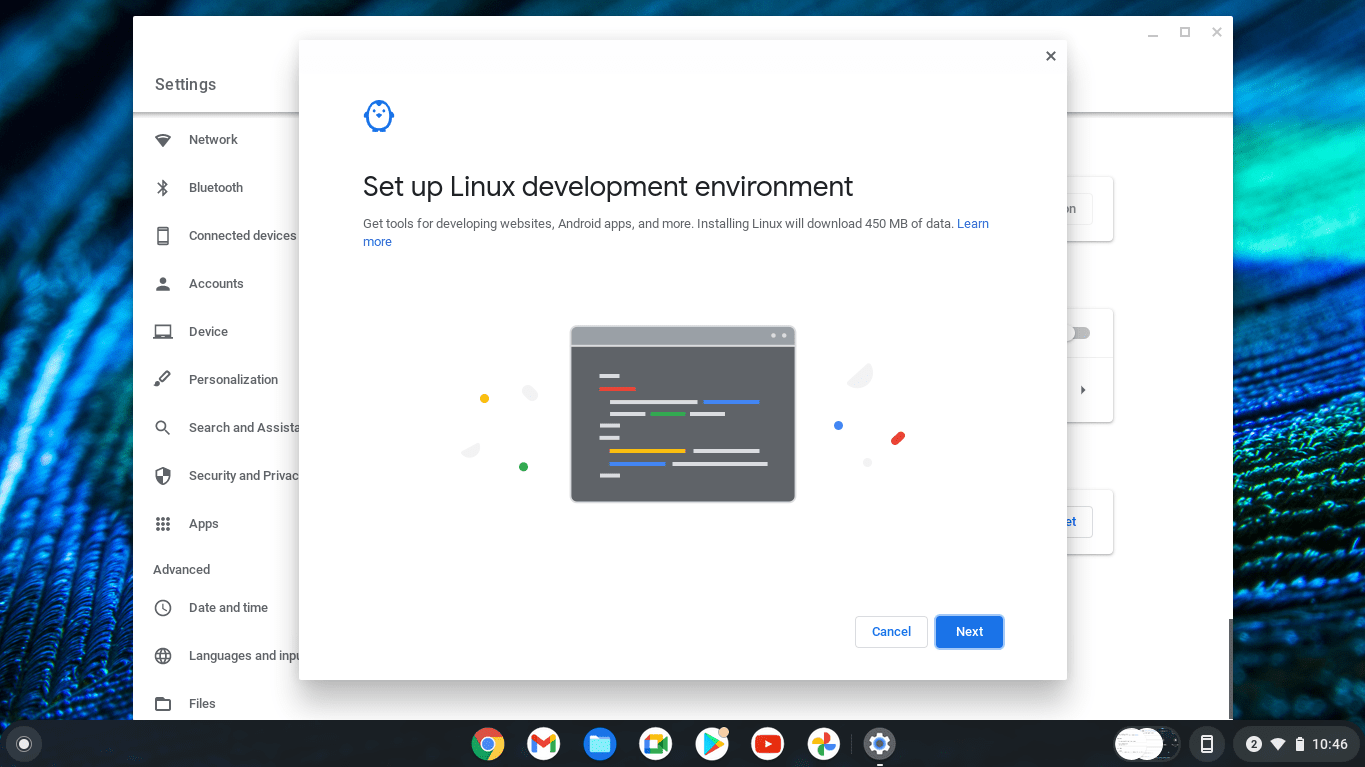
Click "Next".
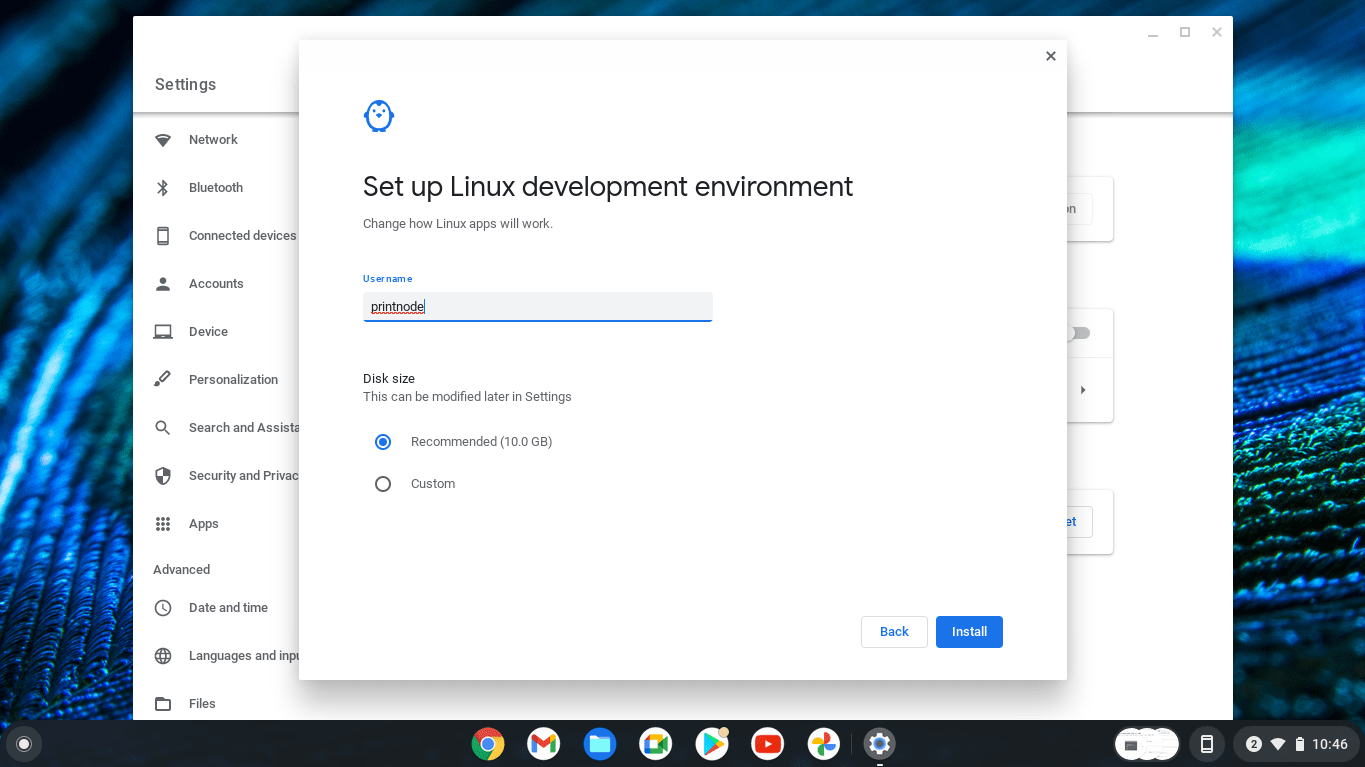
Select your Linux username. You can use your own name if you wish, but if you are only using Linux on your Chromebook to run PrintNode, "printnode" is a suitable alternative. Click "Install".
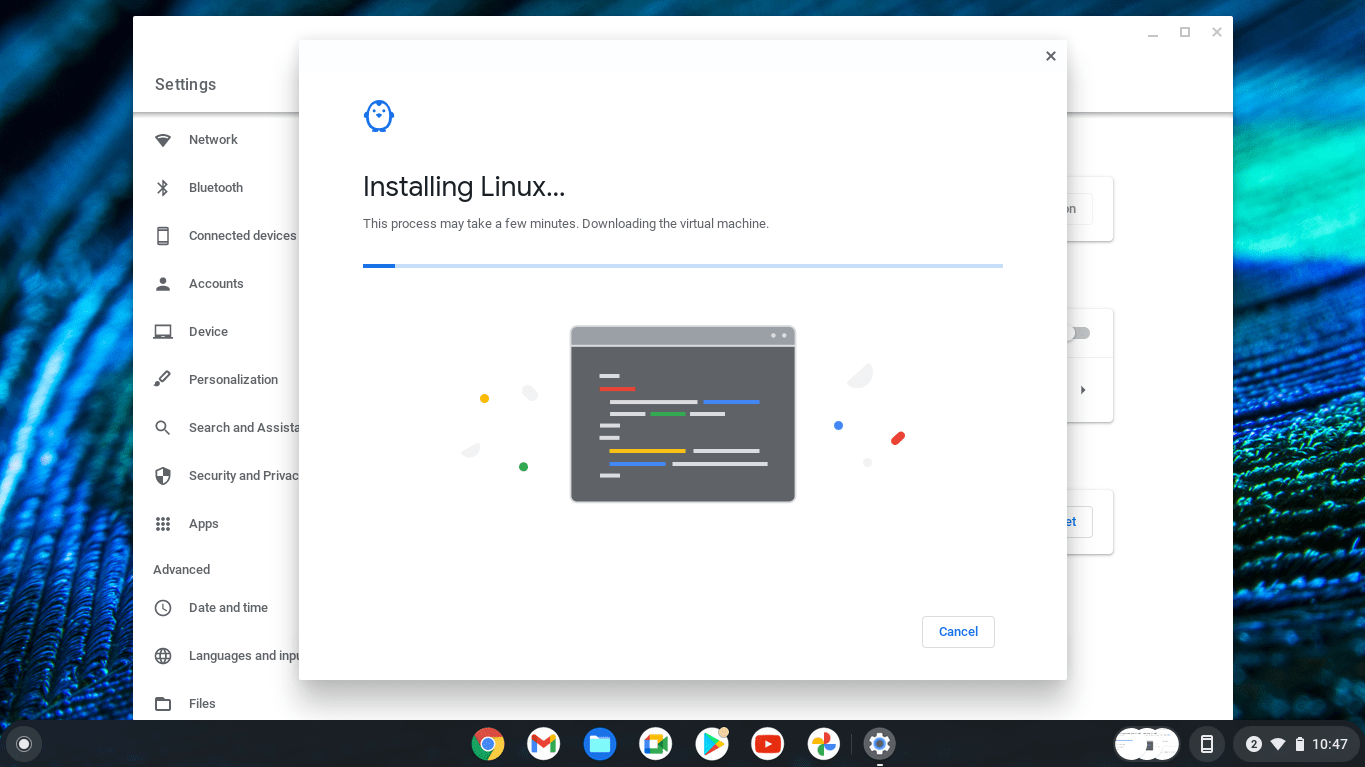
Wait for Linux to install.
After the installation is complete, a Linux terminal window will appear.
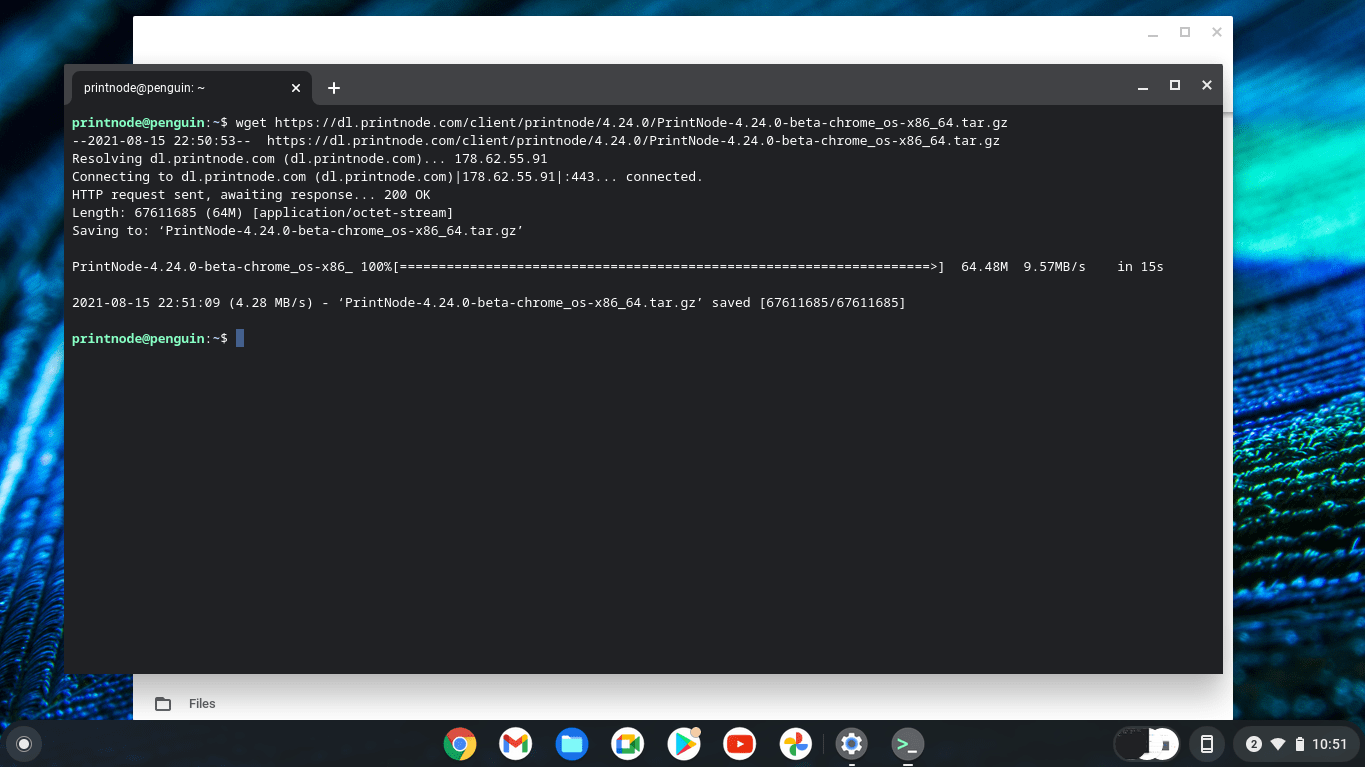
To download the PrintNode Client, use the "wget" command. Type the following into the terminal window and press enter.
wget https://dl.printnode.com/client/printnode/4.24.0/PrintNode-4.24.0-beta-chrome_os-x86_64.tar.gz
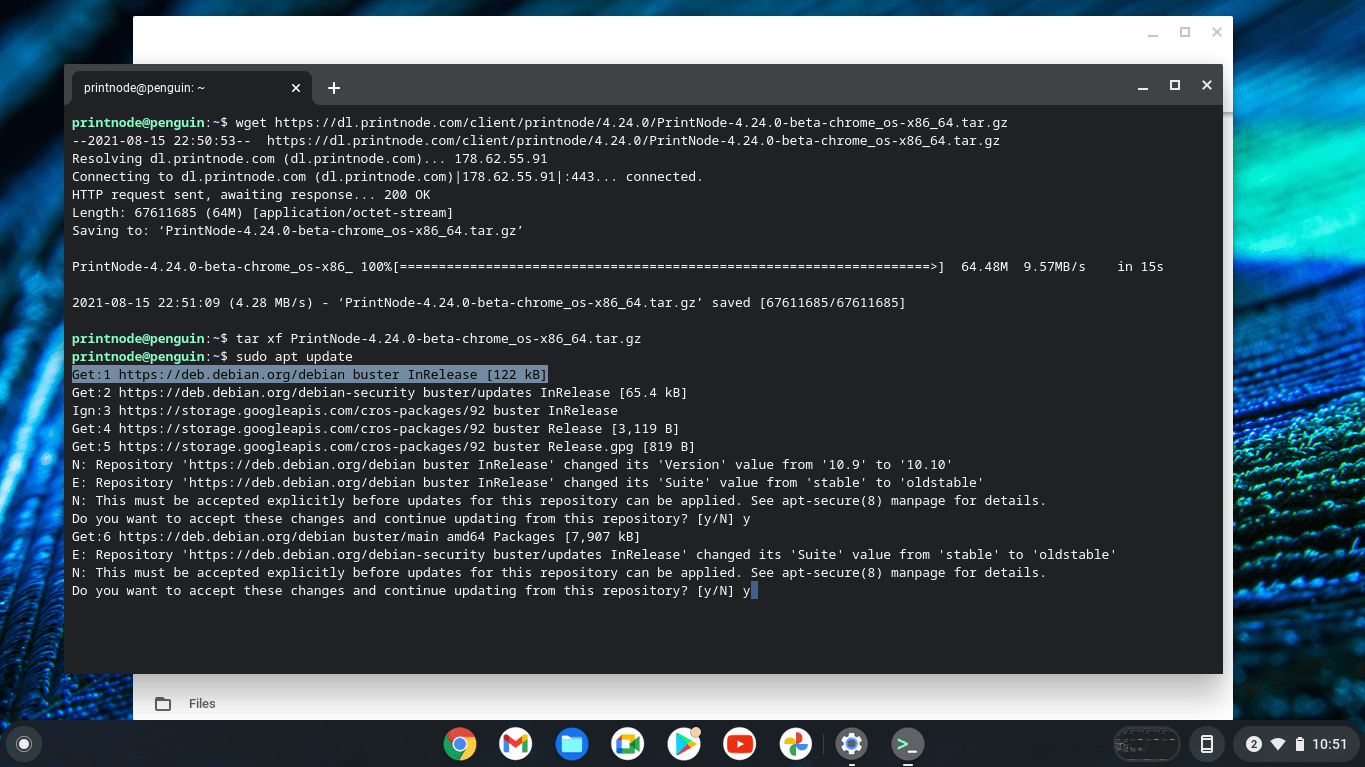
Unpack the archive using the "tar" command, like this:
tar xf PrintNode-4.24.0-beta-chrome_os-x86_64.tar.gz

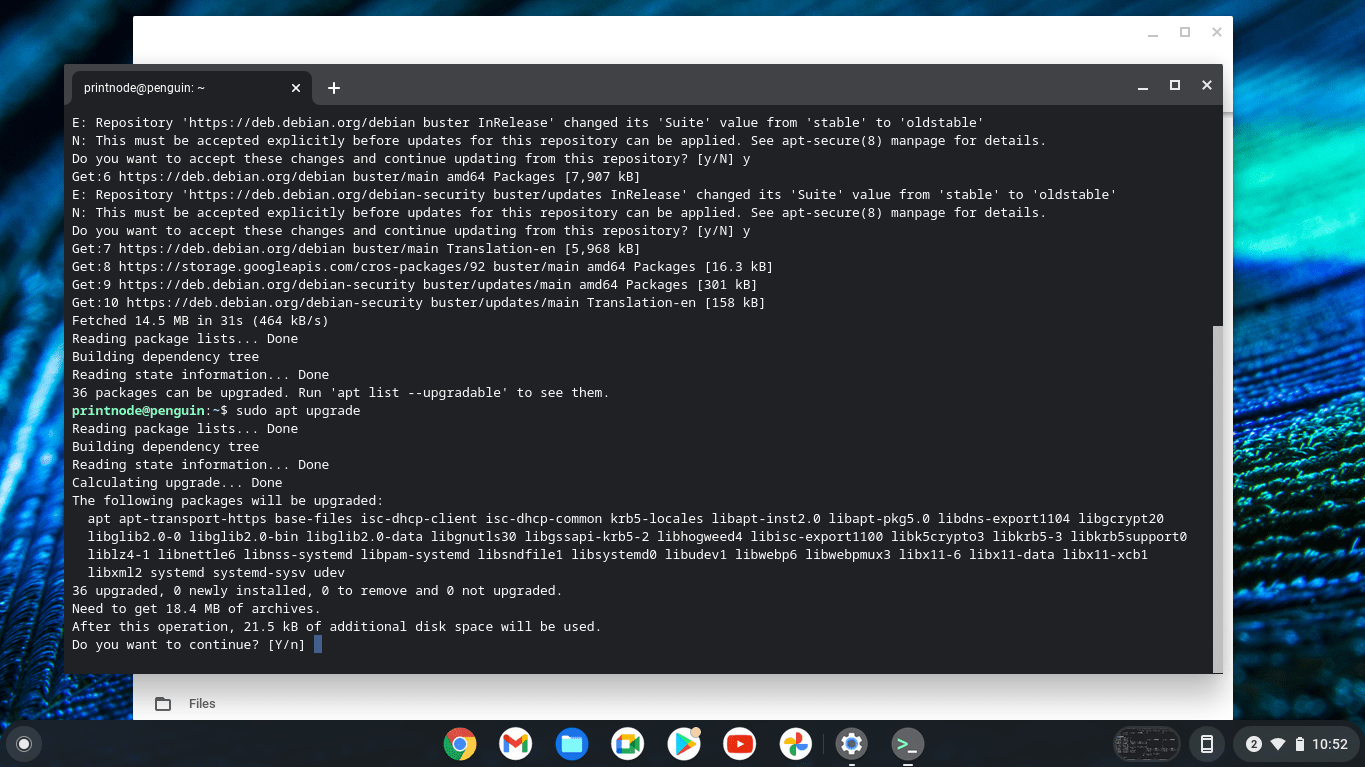
First, update and upgrade your Linux. To do that, issue the following command in the terminal window:
sudo apt update
and press "y" followed by enter, if requested.
Next, issue the following command:
sudo apt upgrade
and press "y" followed by enter, if requested.
Install the cups package using the following command:
sudo apt install cups -y
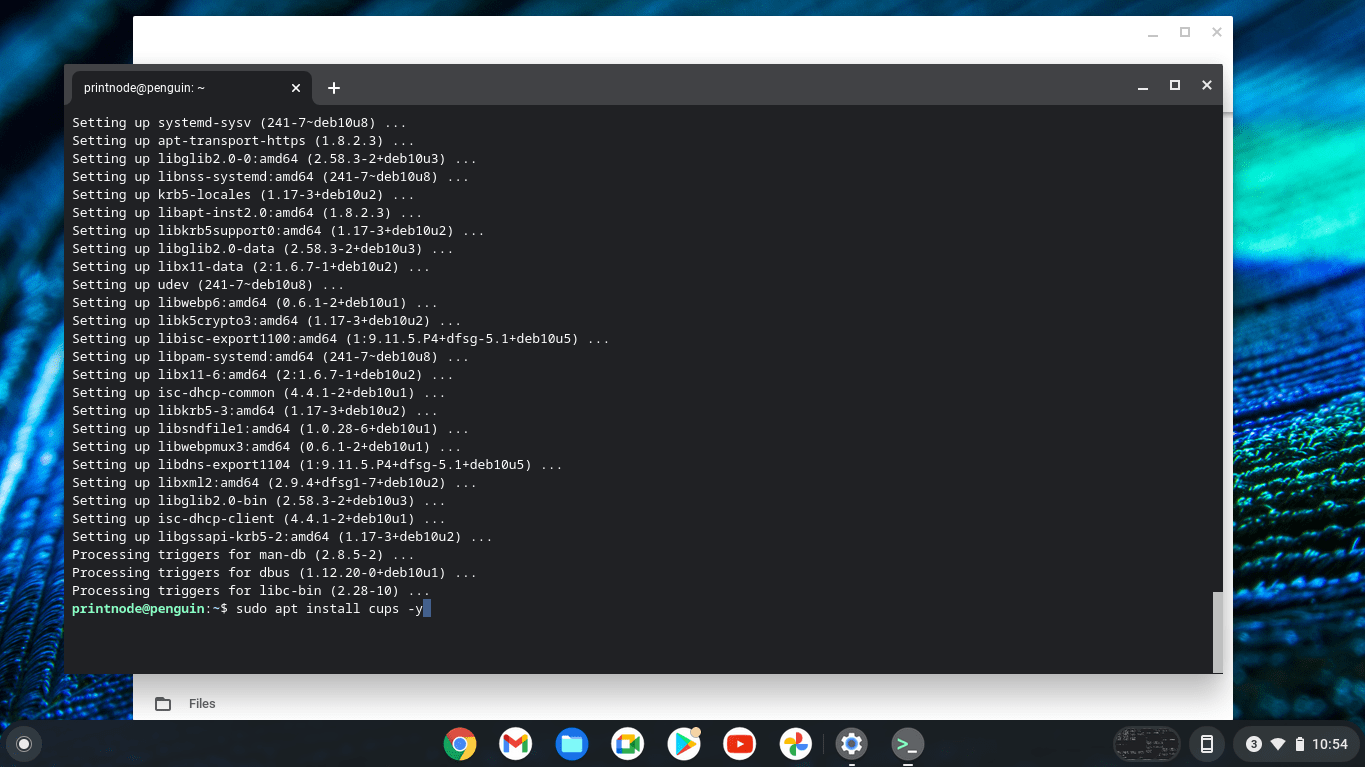
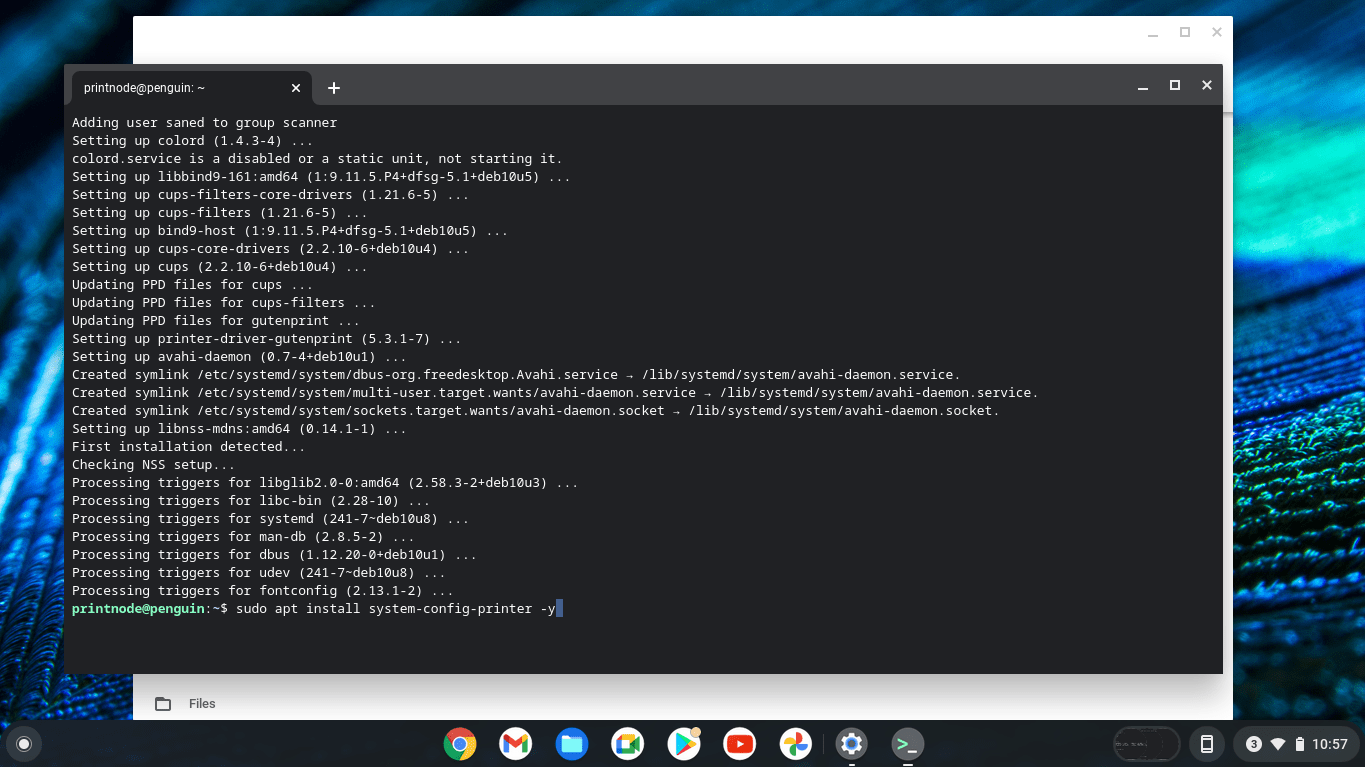
Install the system-config-printer package using the following command:
sudo apt install system-config-printer -y
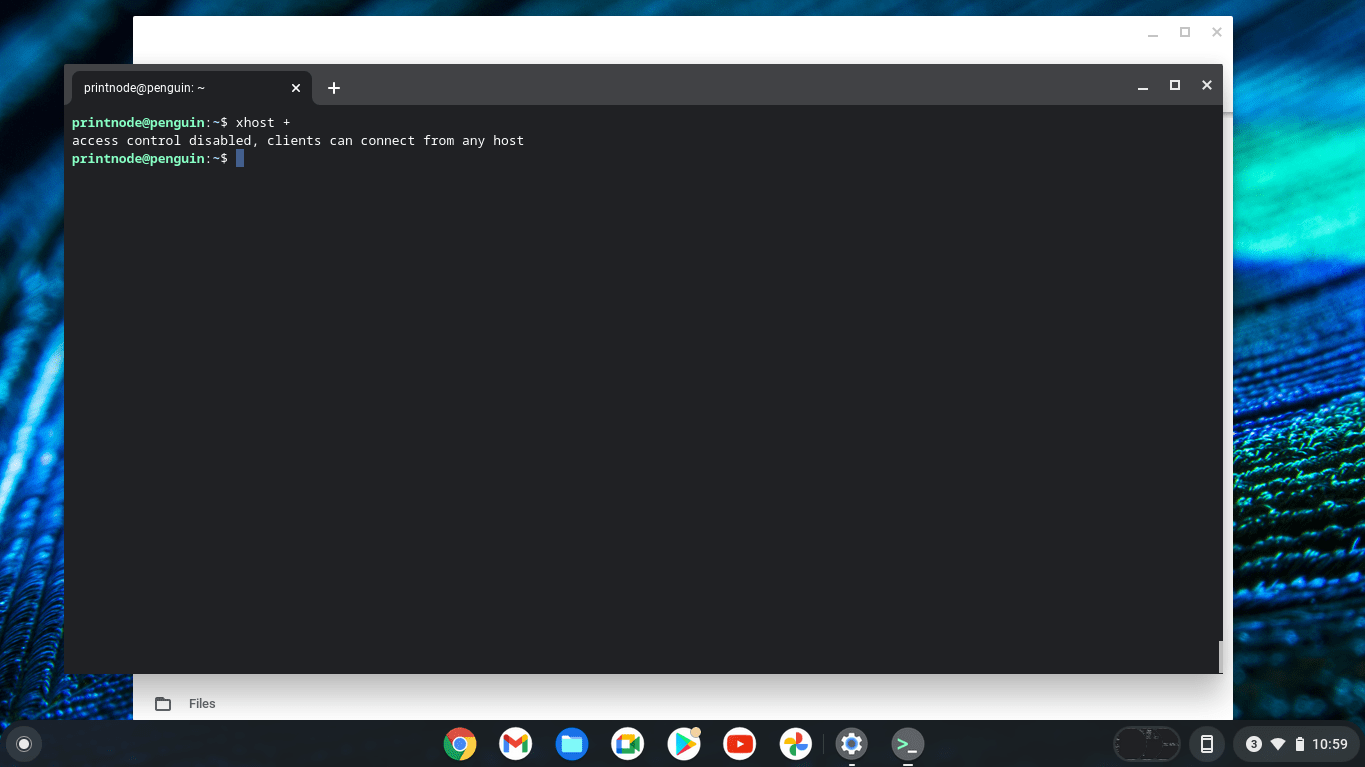
Disable access control to allow the printer configuration window to appear:
xhost +
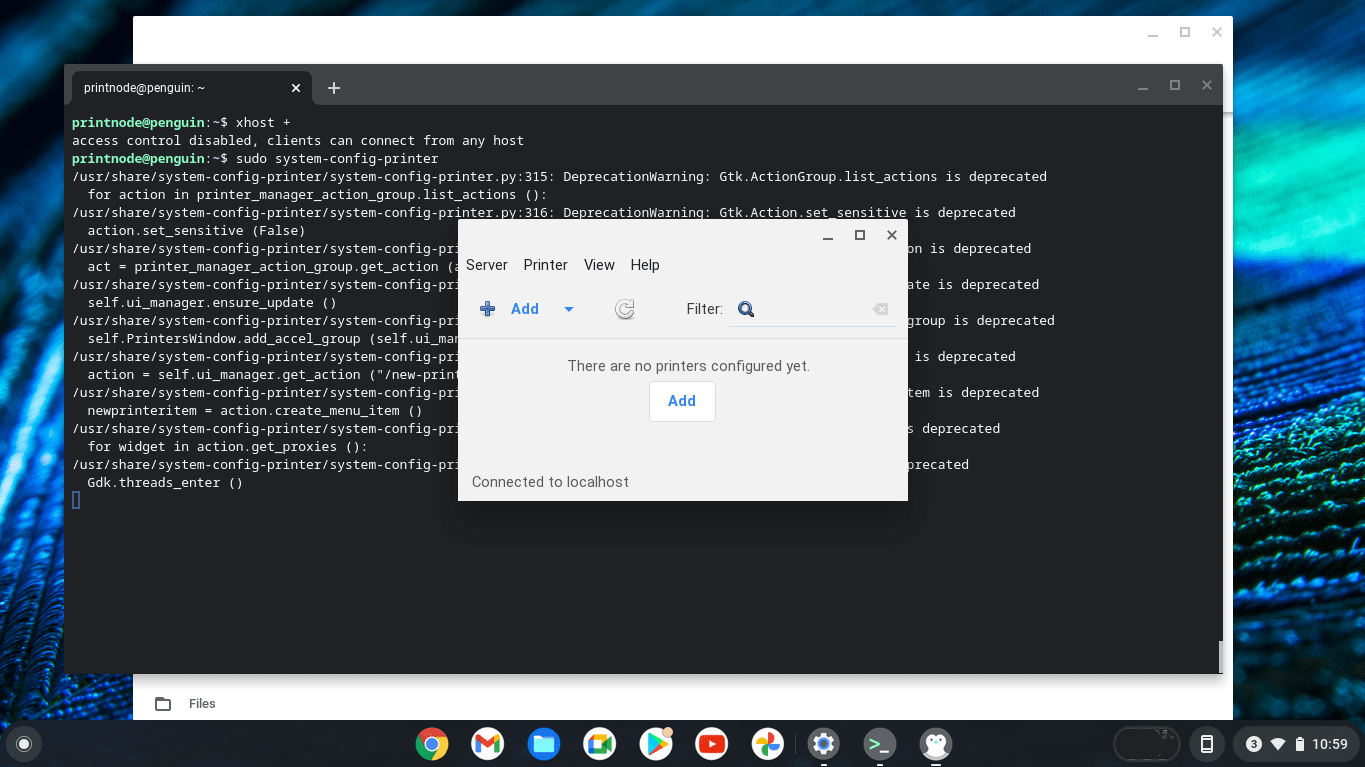
Run the system-config-printer program using the following command:
sudo system-config-printer
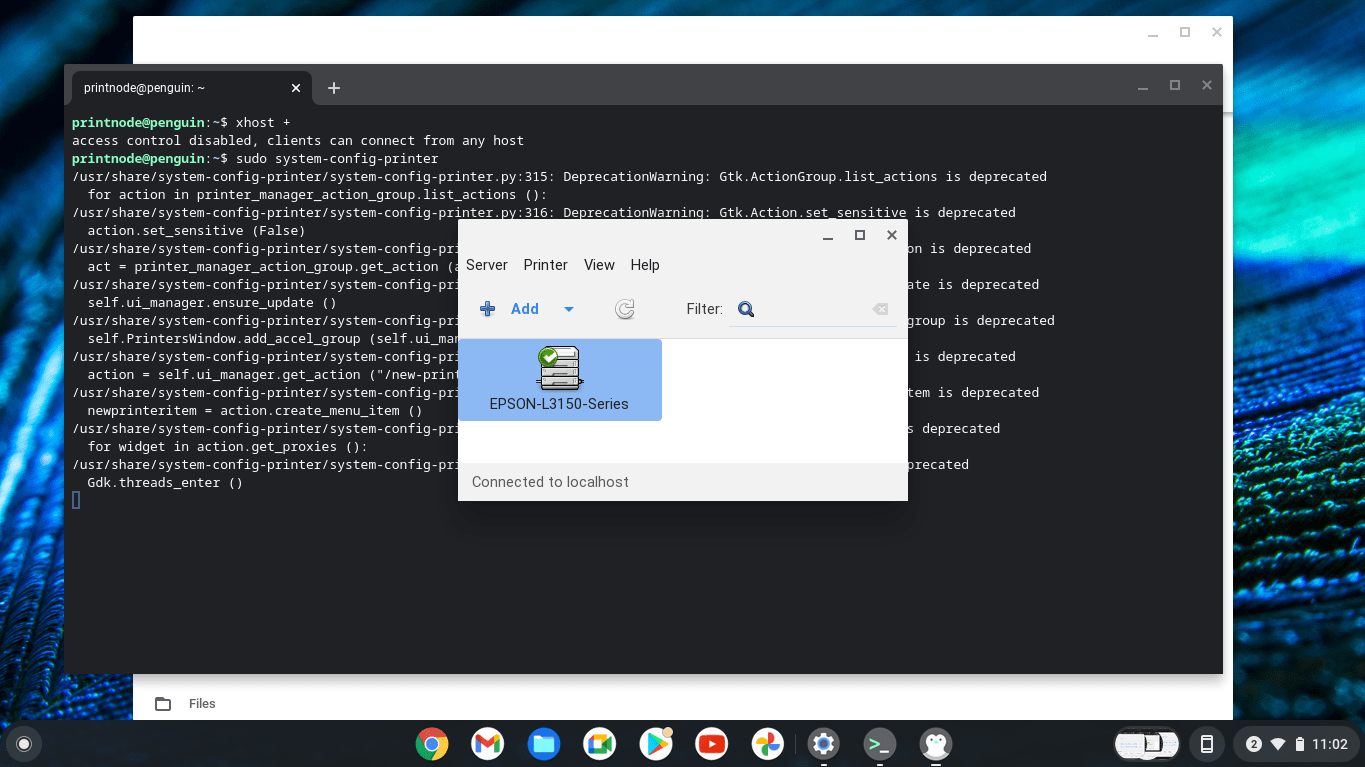
A window will appear; click the "Add" button.
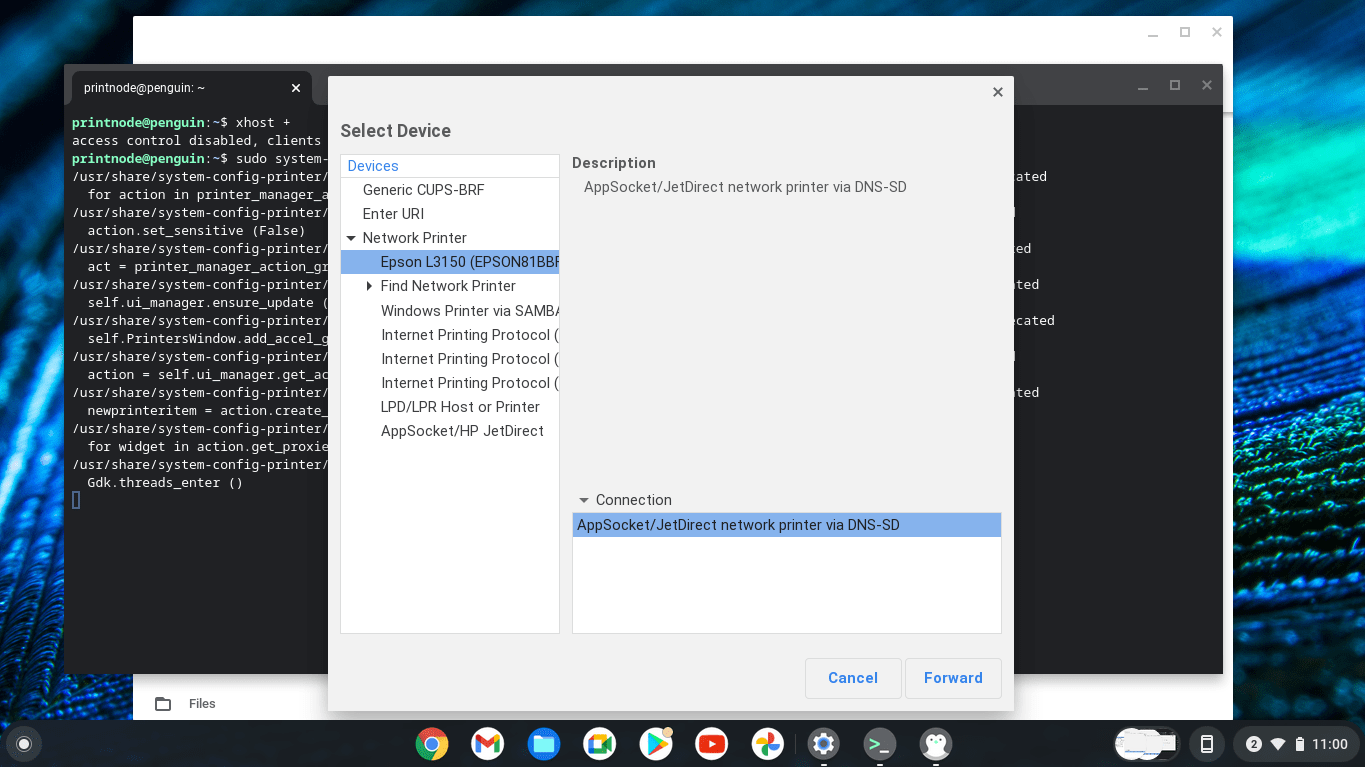
Select your device from the list. If your printer is a network printer, click on "Network Printer" in the left hand-side menu to display the list of network printers. Select the connection and click "Forward".
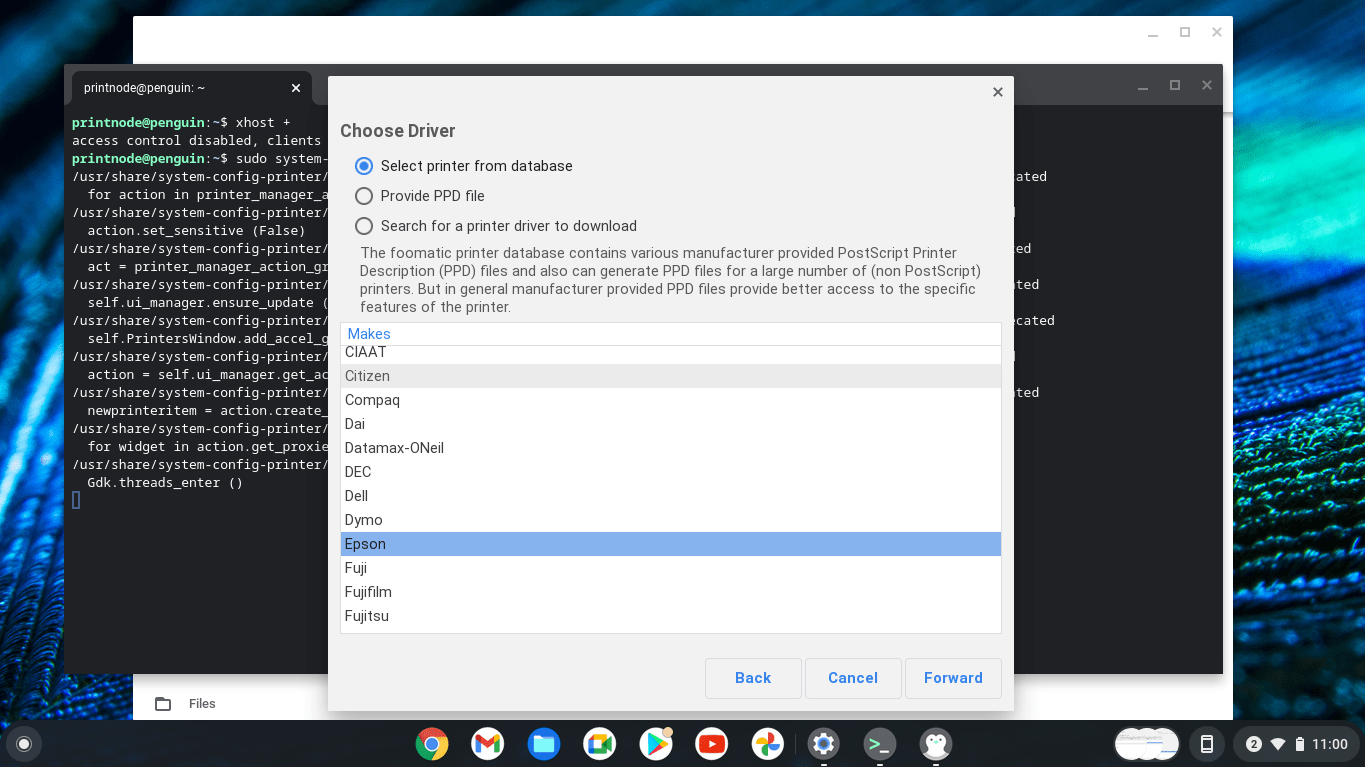
Choose a suitable driver for your printer. It's likely that a driver for a similar printer will work too. If you have a PPD file for your printer, you may choose to use that instead. (Search online for a PPD file for your printer.) If you decide to select a driver from the database, select the make and click "Forward".
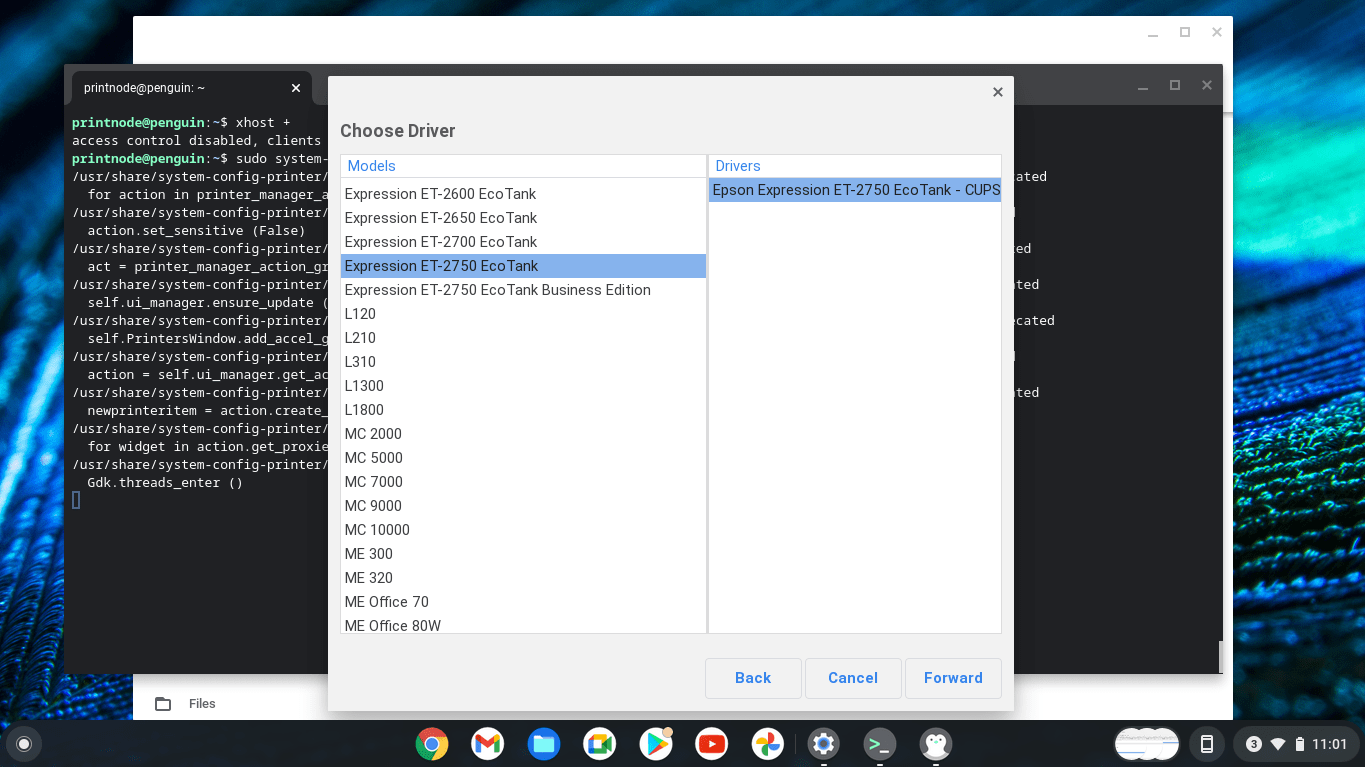
Next, select the model and the driver and click "Forward".
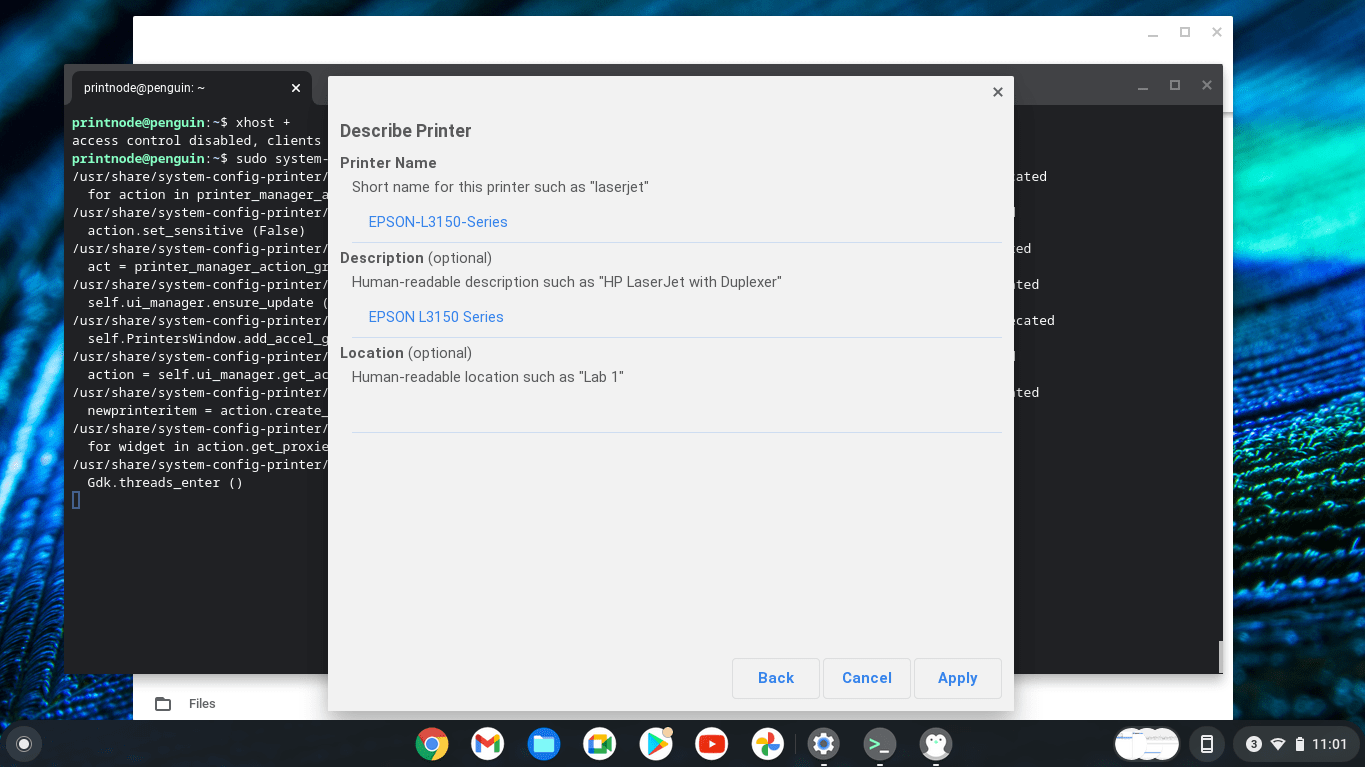
You will be given an opportunity to describe the printer. Change the name and description if you wish. Click "Apply".
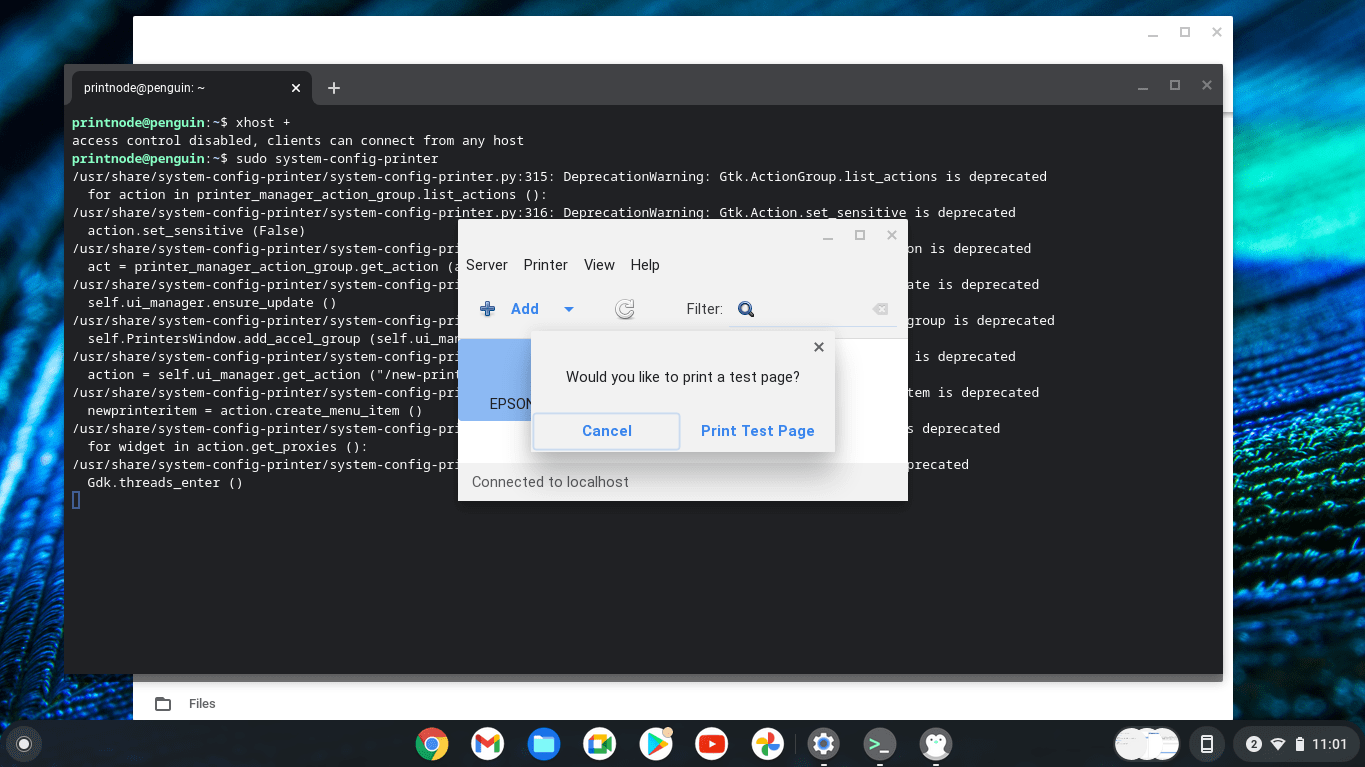
A window will appear asking whether you would like to print a test page. Click "Print Test Page".
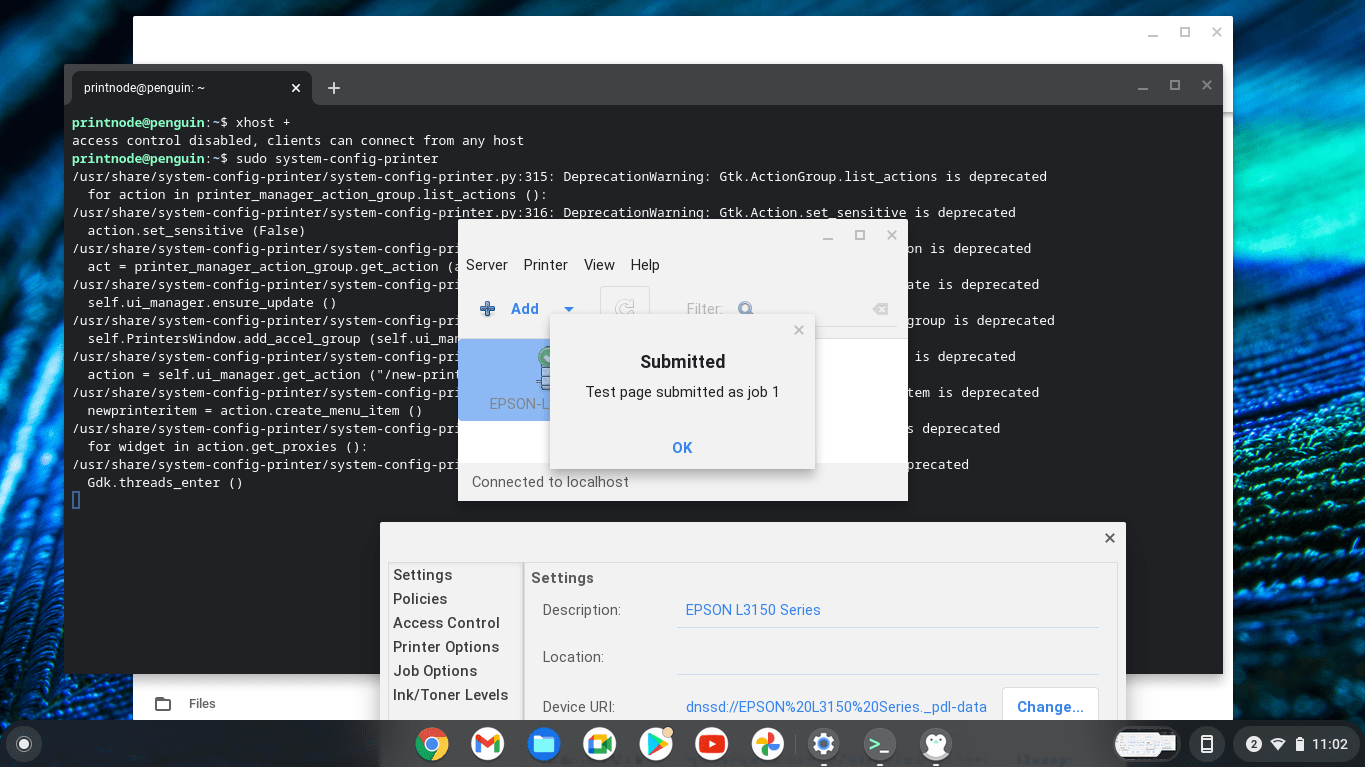
A window will appear confirming that the test page was submitted.

Please note that the "Settings" window will also appear on screen and it may cover the confirmation window. If that's the case, move the "Settings" window to reveal the confirmation window; click "OK".
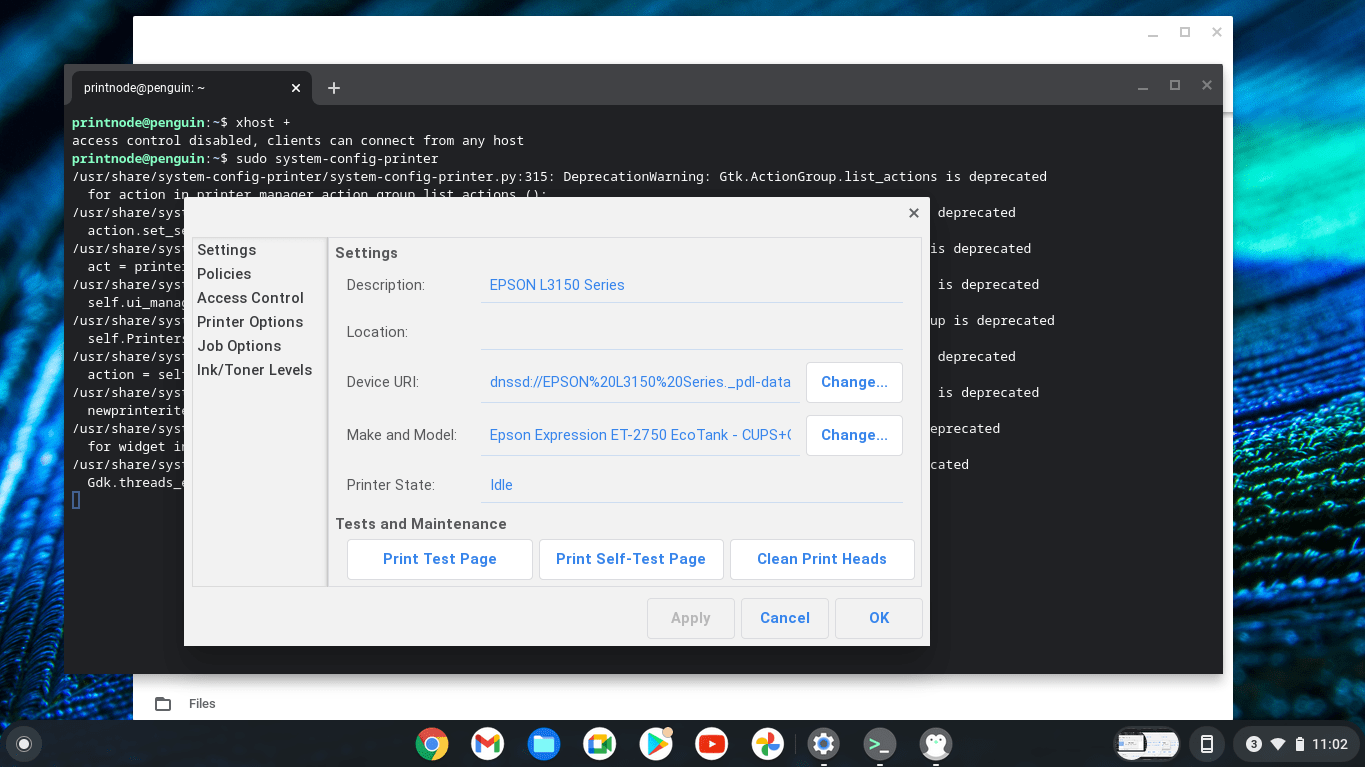
Click "OK" in the "Settings" window; you may come back to this window later to modify your printer's settings.
Close the printer configuration program by closing the window. Click the "x" in the top bar of the window. You will return to the Terminal window.
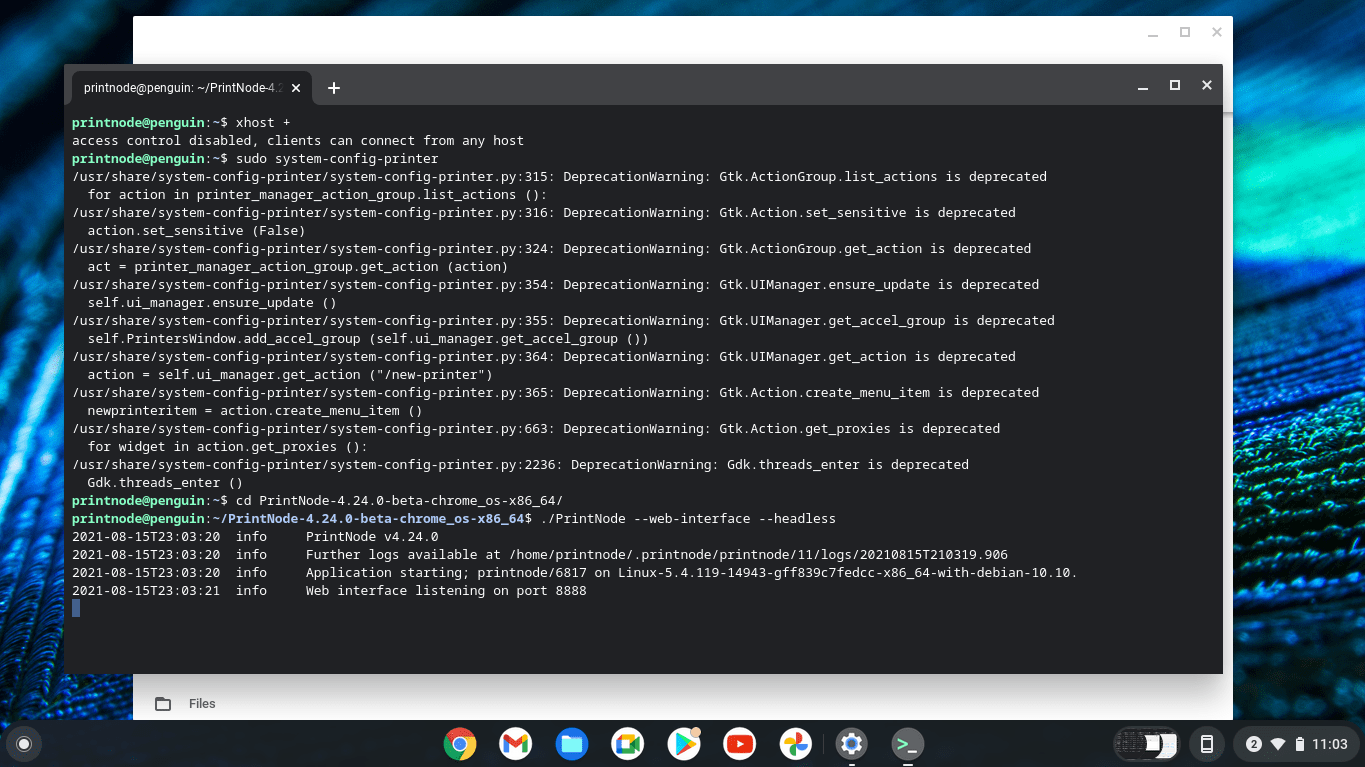
Enter the directory of the PrintNode Client, like this:
cd PrintNode-4.24.0-beta-chrome_os-x86_64
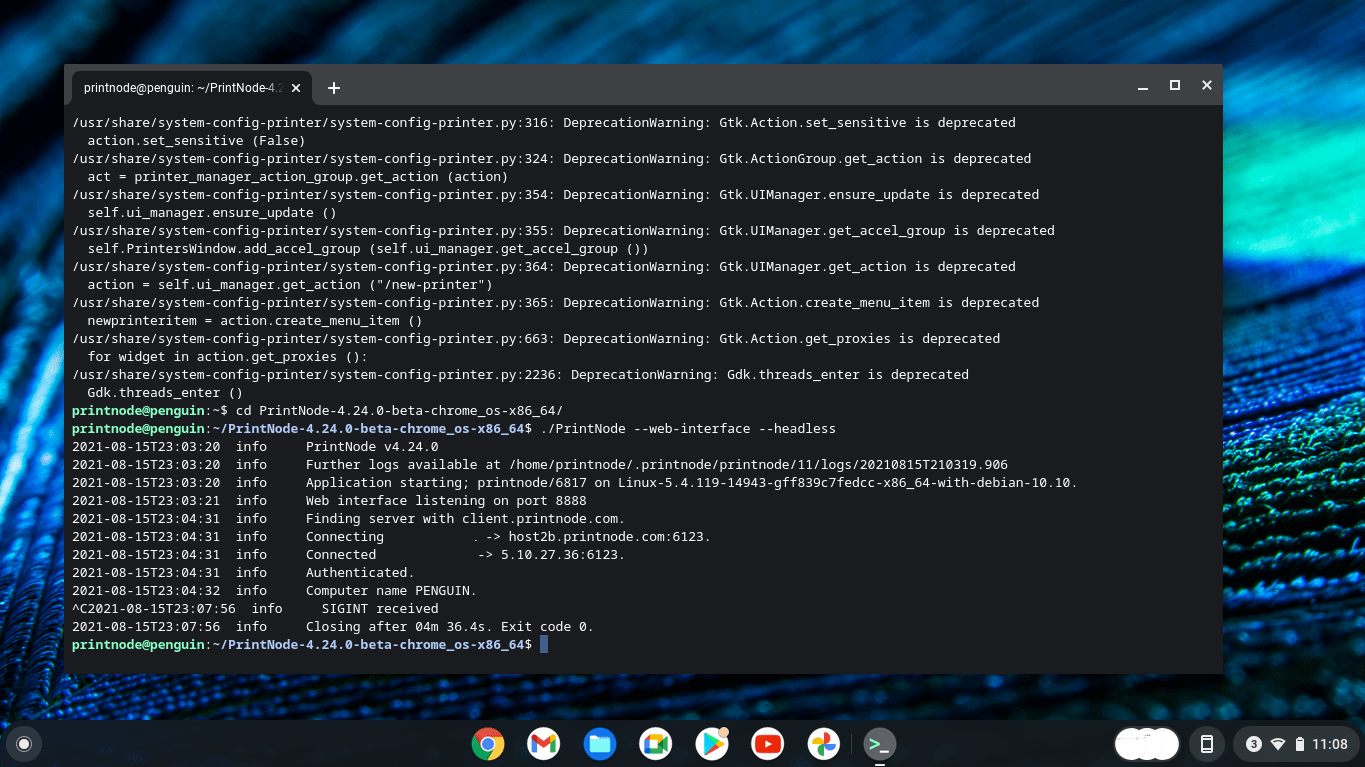
Start the PrintNode Client using the following command:
./PrintNode --headless --web-interface
Open the browser and go to the PrintNode Client's web interface.
Type the following address: http://localhost:8888. A login window will appear.
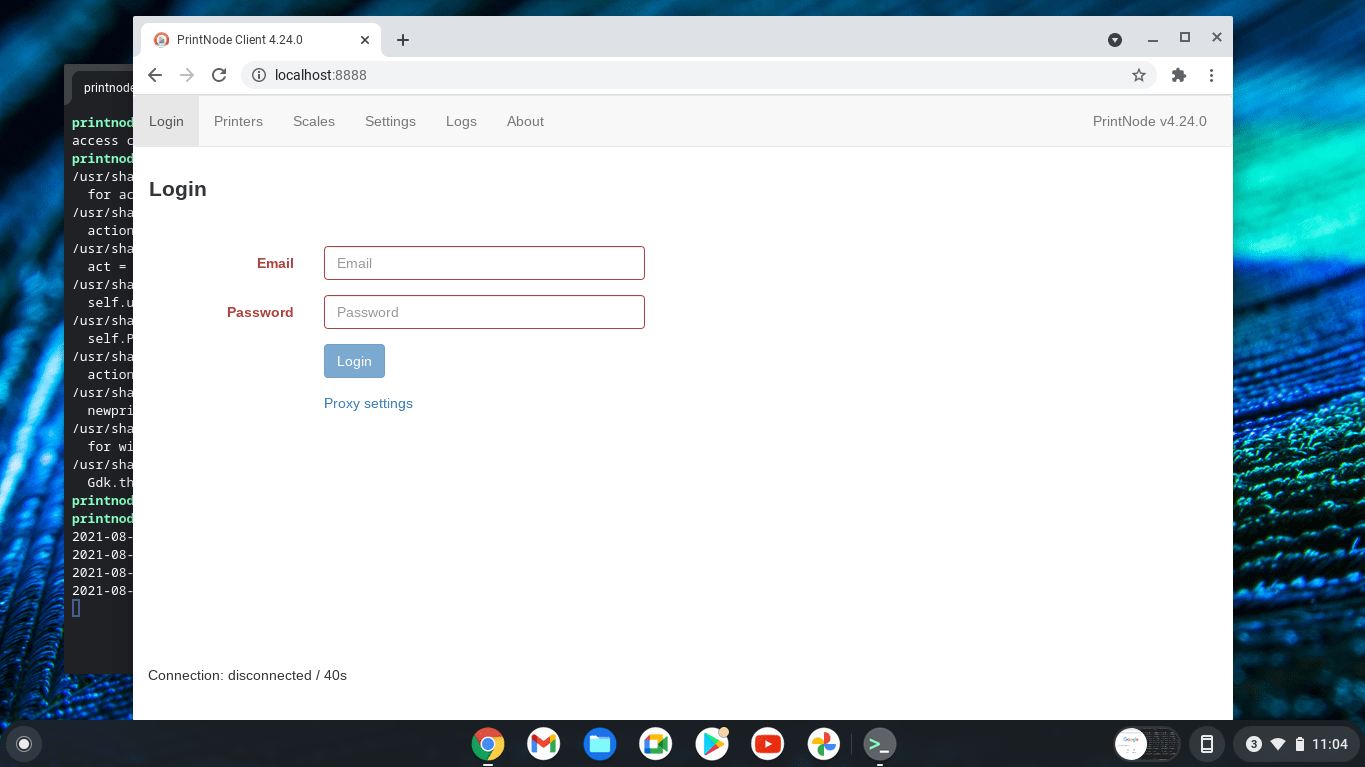
Enter your PrintNode credentials and click "Login". The PrintNode Client will sign in to our system and you should see confirmation in the "Account" tab.
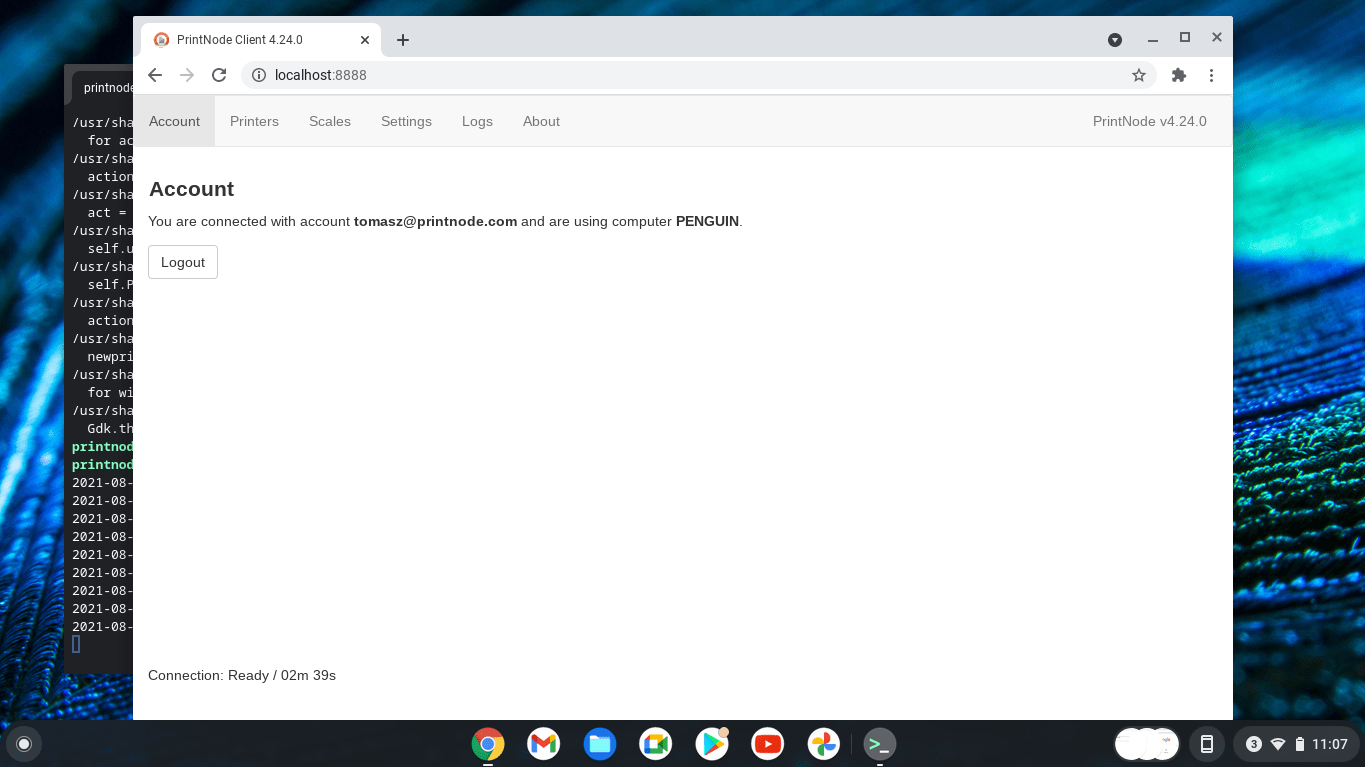
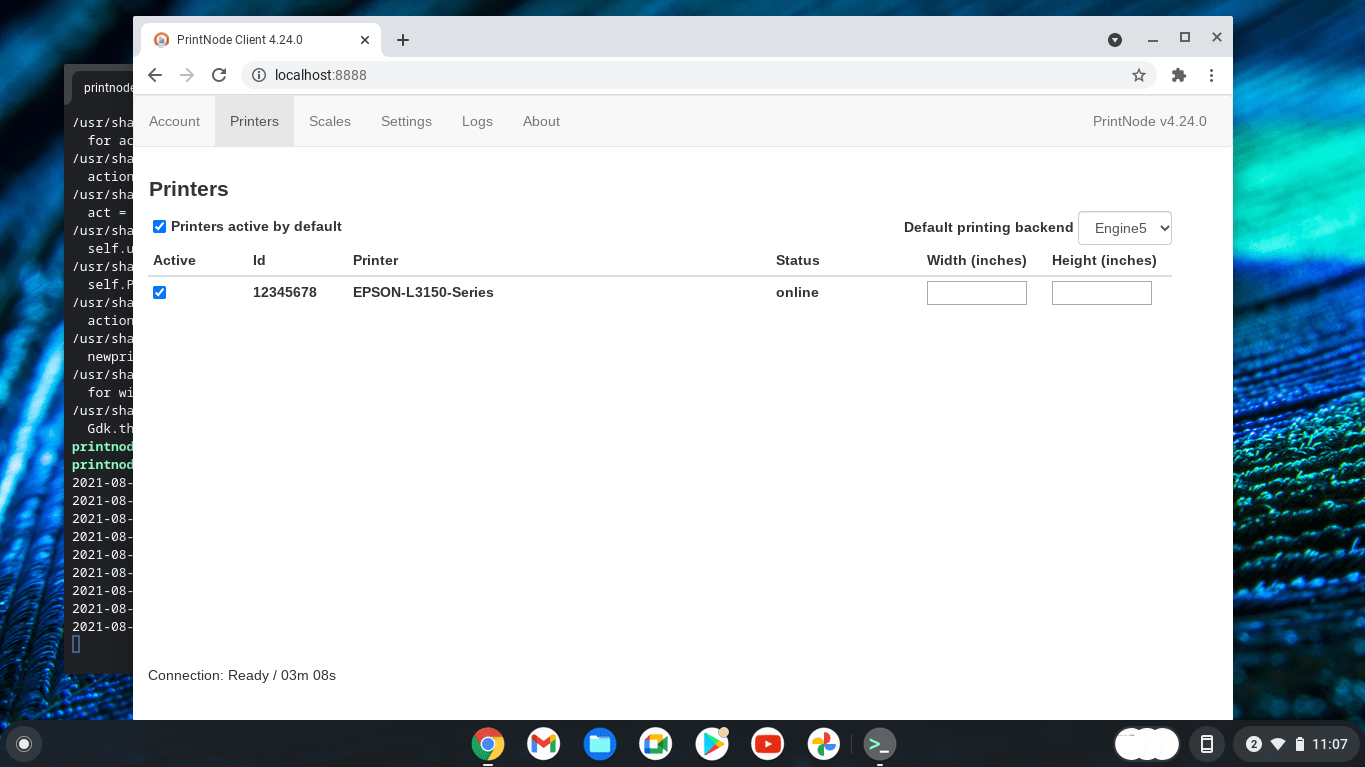
Go to the "Printers" tab to confirm that your newly installed printer is available in PrintNode. If no printers are displayed, please make sure that your Chromebook is set to English language, because that's what the PrintNode Client expects.
If you want to close the PrintNode Client, move to the terminal window and hit Ctrl+C.
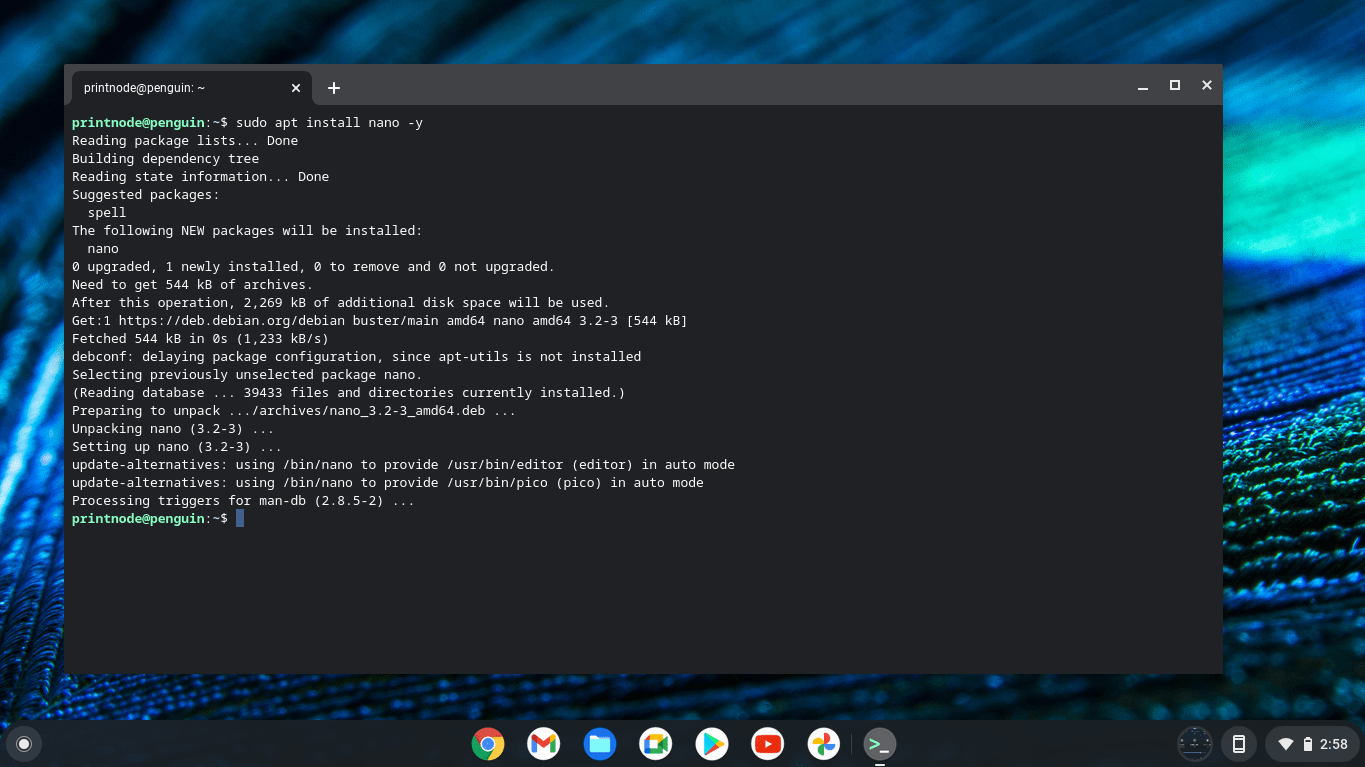
First, install the text editor "nano"; this will make it easy to modify configuration files in the Terminal window. Issue the following command:
sudo apt install nano -y
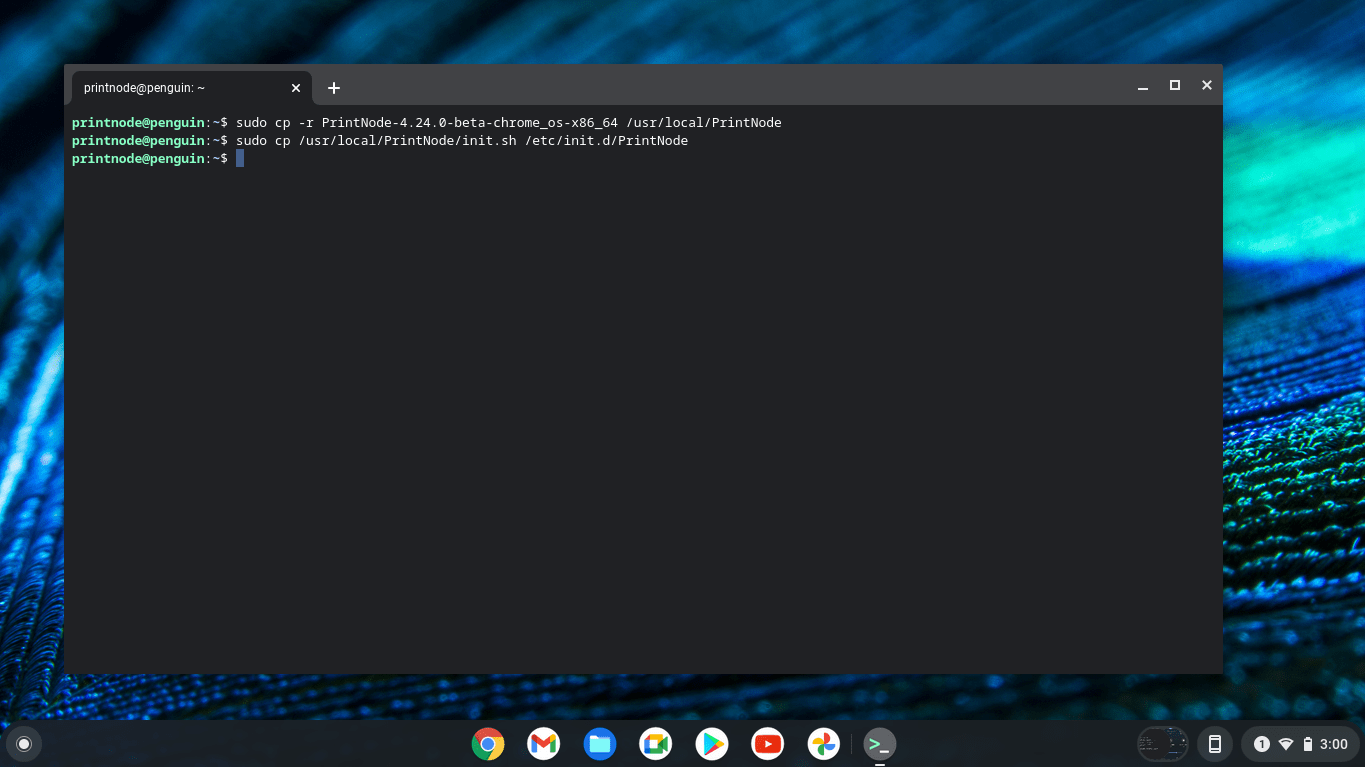
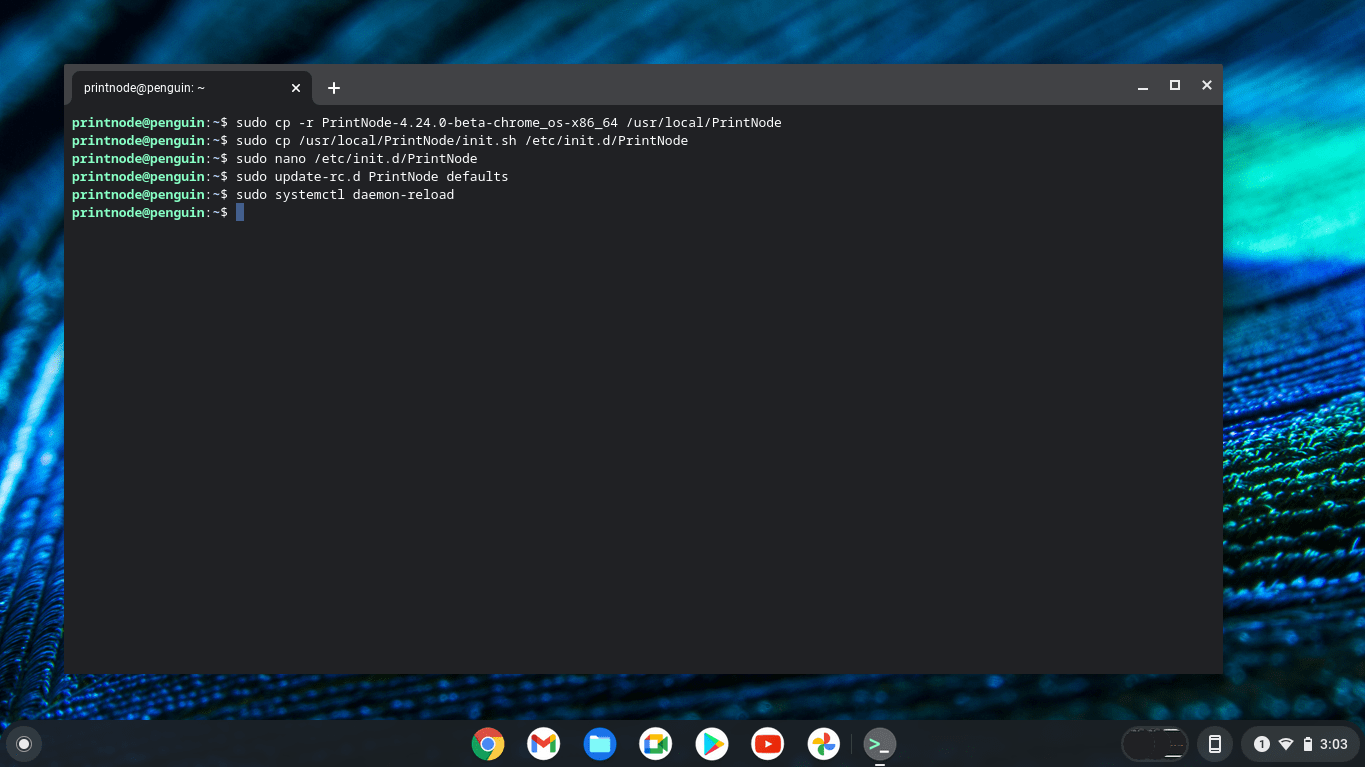
Copy the PrintNode Client files to their recommended location, and the PrintNode Client init.sh file to an appropriate location in the filesystem. To do that, issue the following commands:
cd
sudo cp -r PrintNode-4.24.0-beta-chrome_os-x86_64 /usr/local/PrintNode
sudo cp /usr/local/PrintNode/init.sh /etc/init.d/PrintNode
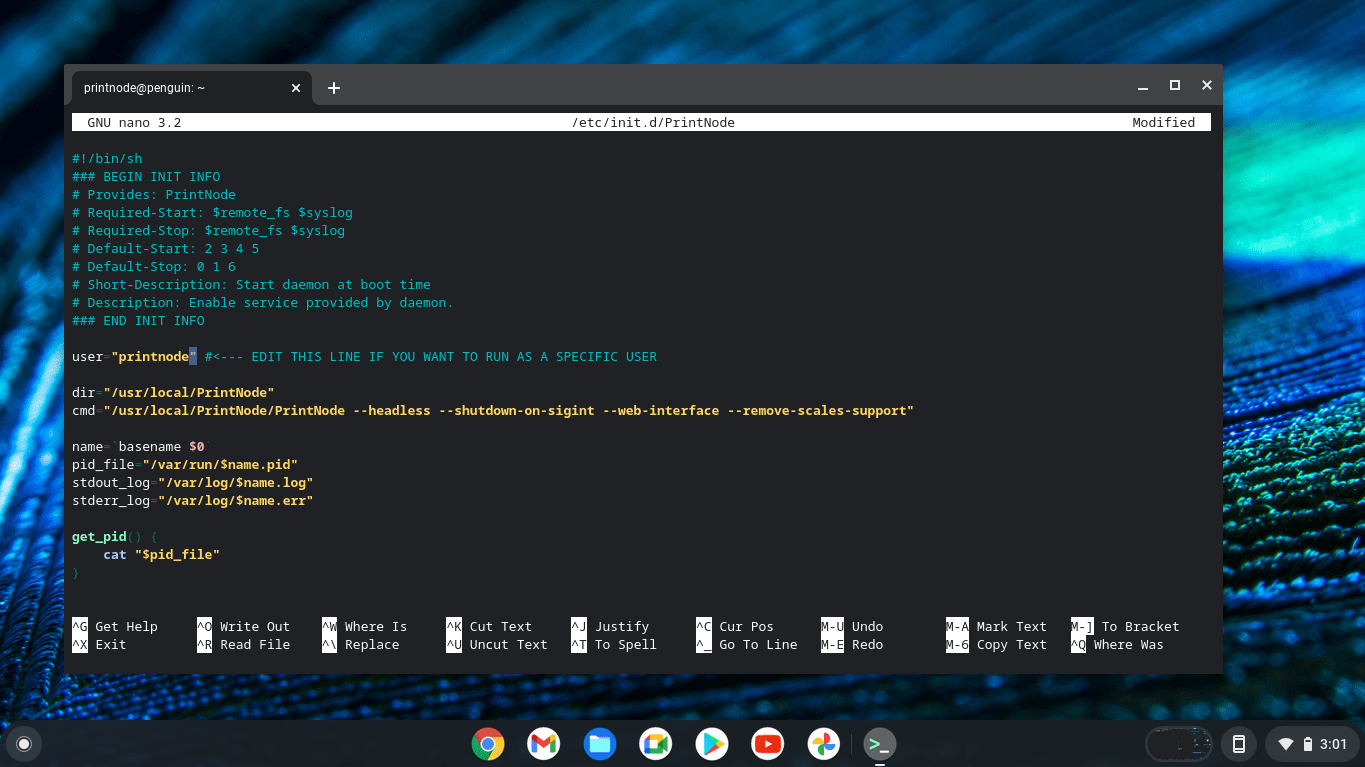
Edit the init.sh file using the nano editor, like this:
sudo nano /etc/init.d/PrintNode
Modify the line that specifies the user; put in your username between the double quotes.
To exit, hit Ctrl+X. The program will ask you whether you would like to save changes. Hit "y" and then enter.
Register the daemon in the operating system by issuing the following commands:
sudo update-rc.d PrintNode defaults
sudo systemctl daemon-reload
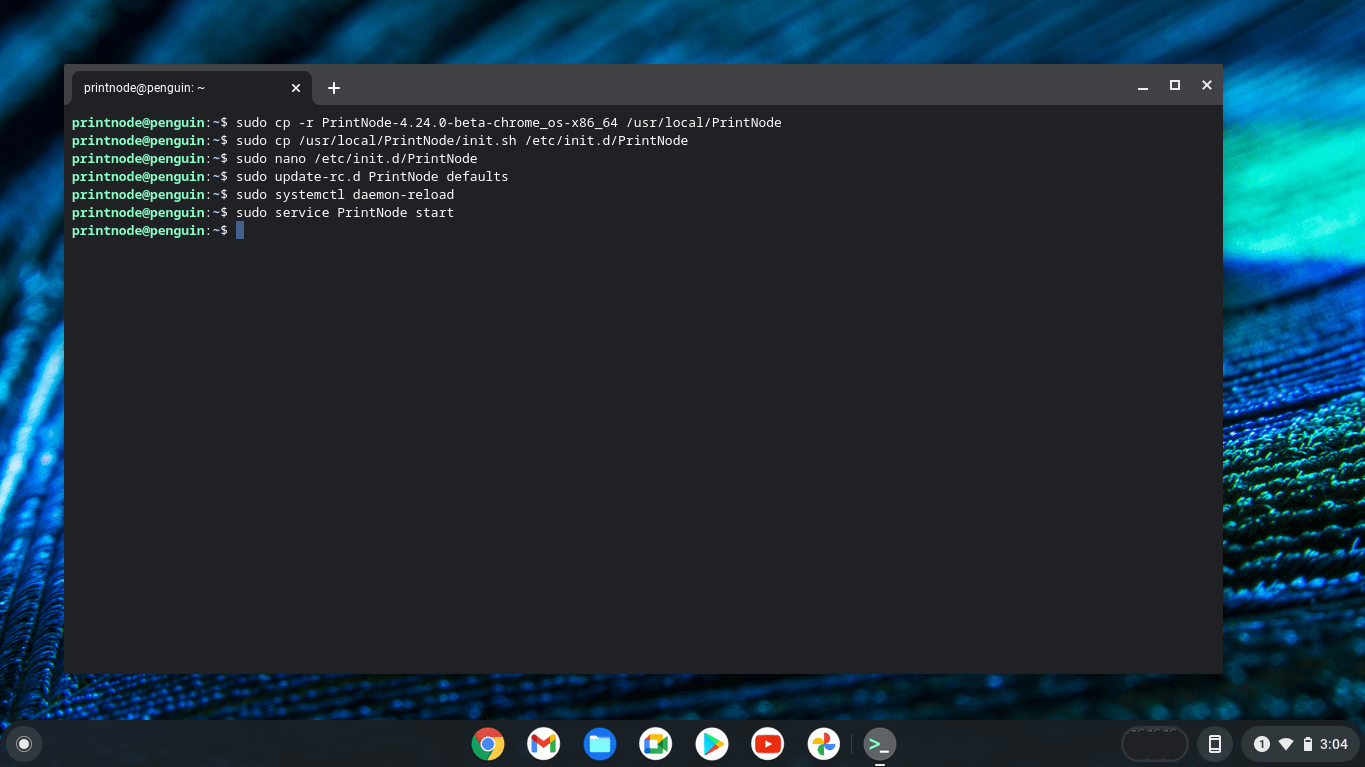
Now, you should be able to start the PrintNode service! To do that, issue the following command:
sudo service PrintNode start
Open the browser again to check that the PrintNode Client is running and is connected to our system. You can also go to our web app, to see that the computer is connected.
Please note that due to Google's security policy, Linux doesn't start on your Chromebook automatically when you turn it on. After your device starts, you need turn on Linux manually. To do that, simply start the "Terminal" app after turning the computer on. This will also start the PrintNode Client.
If you encounter issues with running PrintNode as a system daemon, it is a good idea to examine the log and error files, for instance using the following commands:
less /var/log/PrintNode.log
less /var/log/PrintNode.err
Remember that you are welcome to contact us for help with troubleshooting!
